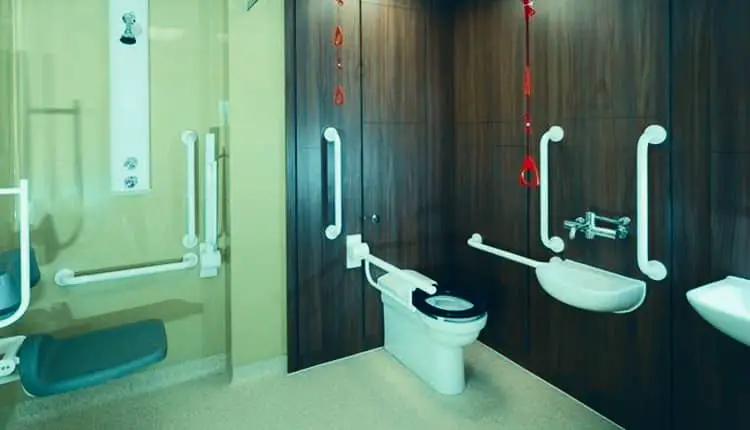
Similar to a goodnight’s sleep, taking a shower can refresh your body and mind and give you much-needed relaxation before you start your day. More people are nowadays decorating their showers to create a relaxing ambiance and personalize their space of refreshment. Although ceramic tiles are the most common options, people opt to build or renovate a bathroom. More people are switching to water-proof shower wall panels because of their ease of cleaning.
If you’re an avid DIY-er putting up a shower wall panel is a piece-of-cake for you but removing them can be challenging. The article talks about how to remove shower wall panels and clean them.
First, know what kind of wall panels do you have
Before you start taking apart the wall panels, you should know what type of panels they are. And we are not talking about what material it was made from; instead, how were they put together. Shower wall panels can be glue-up or Direct-to-stud. Glue-up wall panels can be quickly taken down, with as little damage as a torn wallpaper. But removing Direct-to-stud shower wall panels can be a little tricky. As in that case, you need an exposed flange; part of the wall may need to be removed. Tiled walls might need some rows removed to be able to reach the nailing flange.
The removal process at a glance
Generally, you need to follow the order of installation during the removal of the shower wall panels. You need to mind the corners as they may have overlapped. The general order of installation for shower wall panels is back wall first, followed by the other two for three-piece sets and corners for five-piece sets. So naturally, when taking it apart, start by removing the corners followed by the sidewalls and complete your removal with the back wall. If your shower wall panel set comes with interlocking joints for the corner pieces, first remove them, then only the corners will come out.
Single-piece shower surrounding
A single-piece shower surrounding is excellent, as it has no hassle of putting together; you can just install it in your bathroom and voila. But it is challenging to remove a one piece shower stall. Generally, the one-piece is so big it is impractical to take it out in one piece. Given that the one-piece shower surroundings are usually not reusable, you can remove them by cutting them into small pieces with an angle grinder or an oscillating tool. Ensure you take all the safety precautions like safety goggles and protective gloves if you choose to take things into your own hands.
How to Remove Glued on Shower Walls
If your shower wall panels are glue-up, they can be removed with relative ease than the Direct-to-stud ones. You need fewer tools to take down glue-up wall panels, and the job can be done relatively quickly. The process can be made even more comfortable if you use a hairdryer to heat up the shower wall panel adhesive from the front to soften its grip. But this might lead to liquid adhesive spilling all over the place during removal, so try to remove it without using the hairdryer.
Some necessary steps to follow:
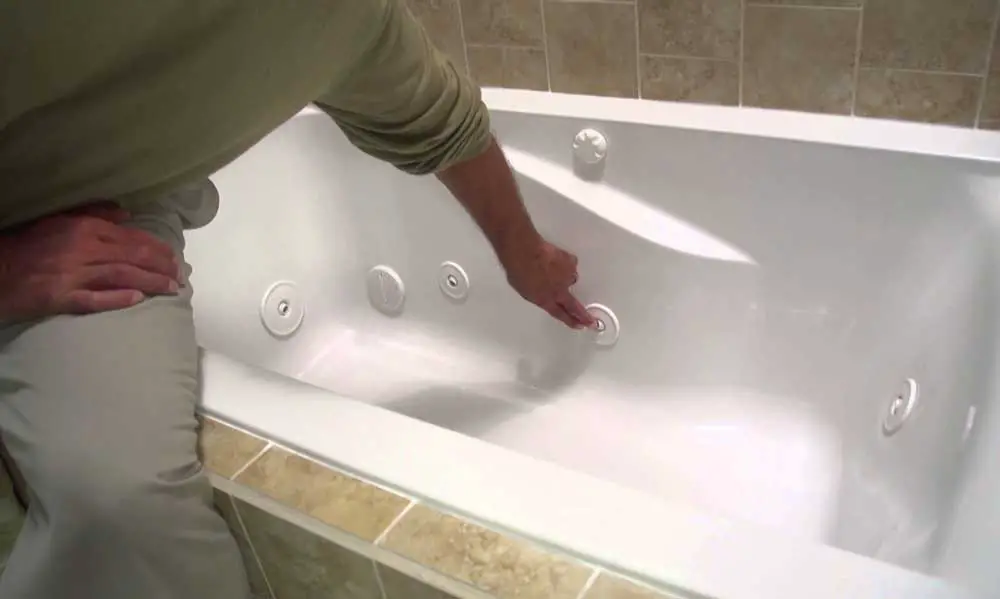
- First, remove the faucet handle, showerhead, tub spout, and shower arm by simple unscrewing. Remove the trim by cutting the caulk.
- Remove all the sealant around the wall panel by cutting them with a utility knife or similar tool. This includes the caulk around the panel, the corners, the panel’s junction, and the shower base.
- If there is any molding present, pry it off. You can use a stiff knife to tap behind and pry off any molding present in the outer perimeters.
- If you’re using a five-piece shower wall panel set, remove the panels at the corners. Pry it off like the molding by tapping with a putty knife and pulling with your hand.
- Remove the side panels, similar to the corners and the molding. Tap with a putty knife under the panel and pull it apart.
- Finally, finish the process by taking apart the back panel. Use the same pry-and-pull method to take it apart. After it is removed, do the necessary wall repairs like cleaning the adhesive and fixing the tears.
How to remove Direct-to-stud Shower Wall Panels
Direct-to-stud wall panels are more complicated to remove as they often require taking apart a part of the wall to remove. First, you need to remove the faucet trim and then uncover the nailing flange to let you access the fasteners holding the panel in place if it is recommended to take an asymmetric approach to minimize the repair work left as an aftermath of the wall panel removal.
Some necessary steps to follow:
- Use a pencil and a level to draw a cut line above the shower wall enclosure. Preferably draw the line 6 inches from the shower wall panels to give you some working room. You may need to remove the entire wall covering if the wall is comparable to the shower wall panels’ size. Remove one or two rows of tiles if your wall is tiled.
- Expose the nailing flange by Cutting along the drawn line.
- Generally, the panels are held in place by screws or nails; remove them by unfastening them or prying them off.
- Cut all the caulk surrounding the panels using a knife.
- Take the shower wall panels apart in reverse order of the one used when installed. Start with corners, move on to the side panels, and finally end with the back panel.
Conclusion
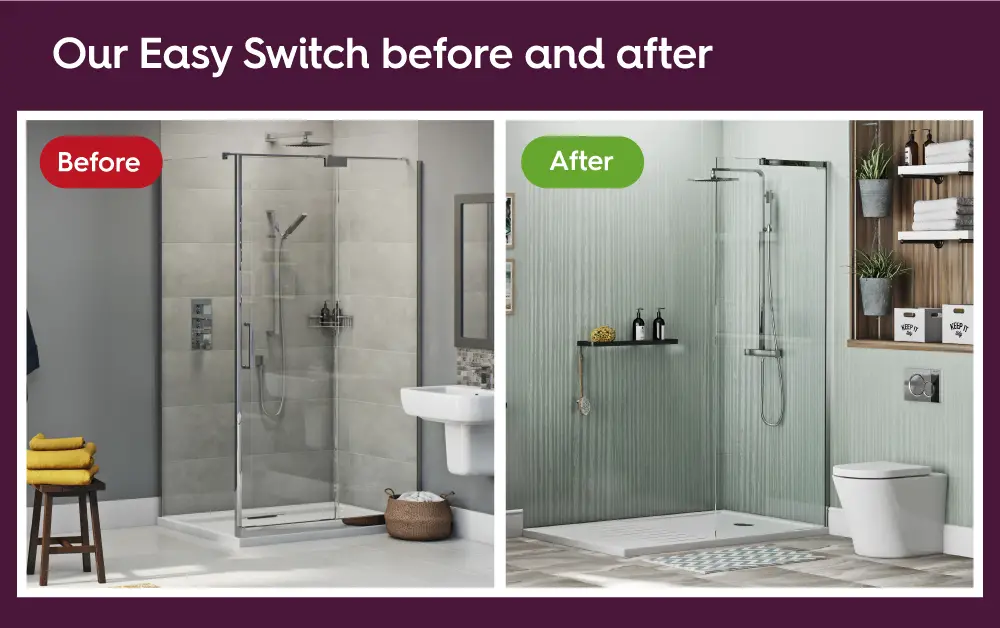
Although the answer to how to remove shower wall panels might not be as simple as pulling it off with enough force, you can quickly renovate your own bathroom with the right tools and a bit of guidance. Remember, you need to follow all the safety precautions when using power tools to remove your shower wall panels.